
画像にモザイクを入れる方法
※mac版のPhotoScape Xを使って説明します
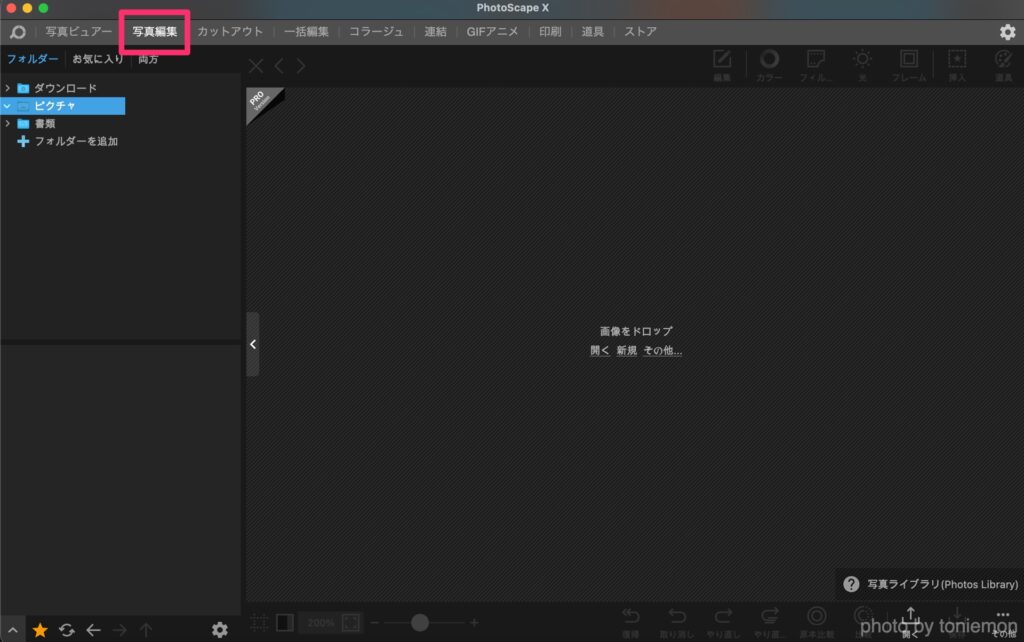
1. PhotoScape Xを起動する
2. 写真編集のメニューをクリックし、編集したい画像を選択する(ドロップする)
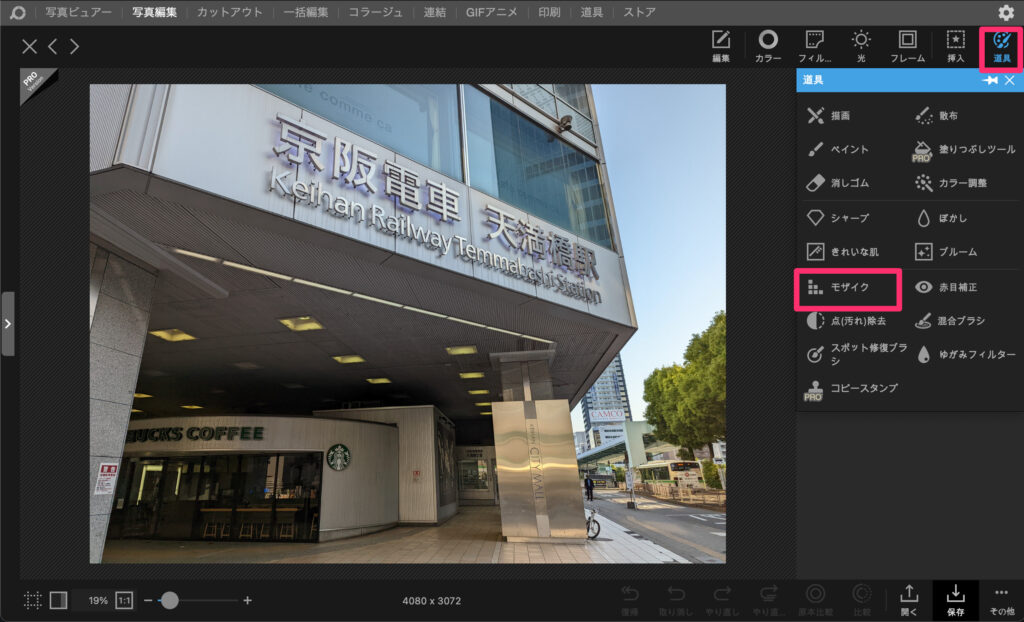
3.右上のメニューから『道具』をクリックし、『モザイク』をクリックする
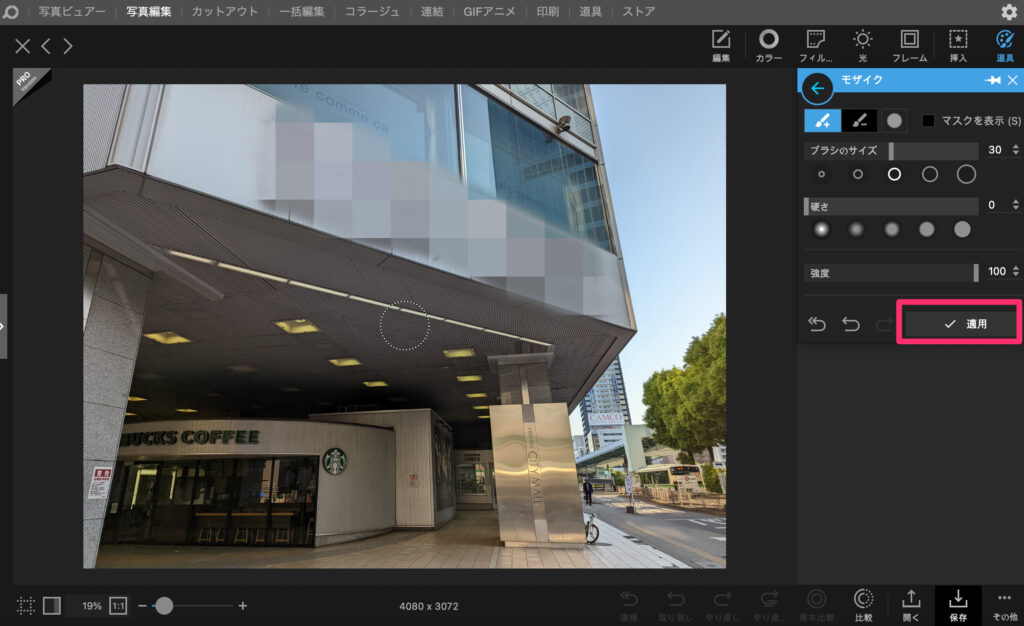
4.モザイクをかけたい場所をブラシで塗っていく
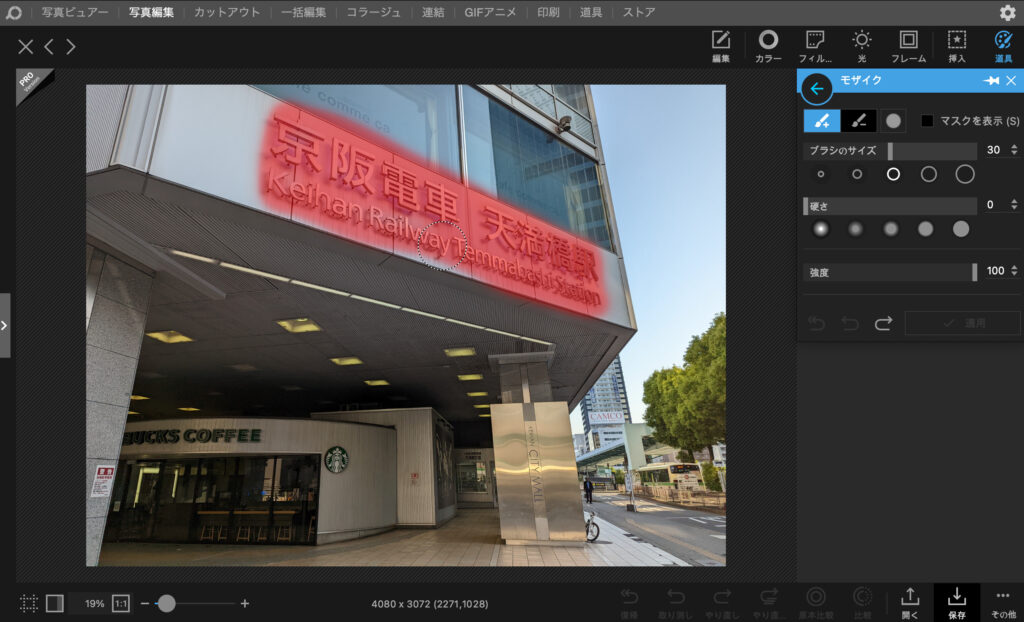
5.モザイク処理が完了したら、『適用』ボタンをクリックする
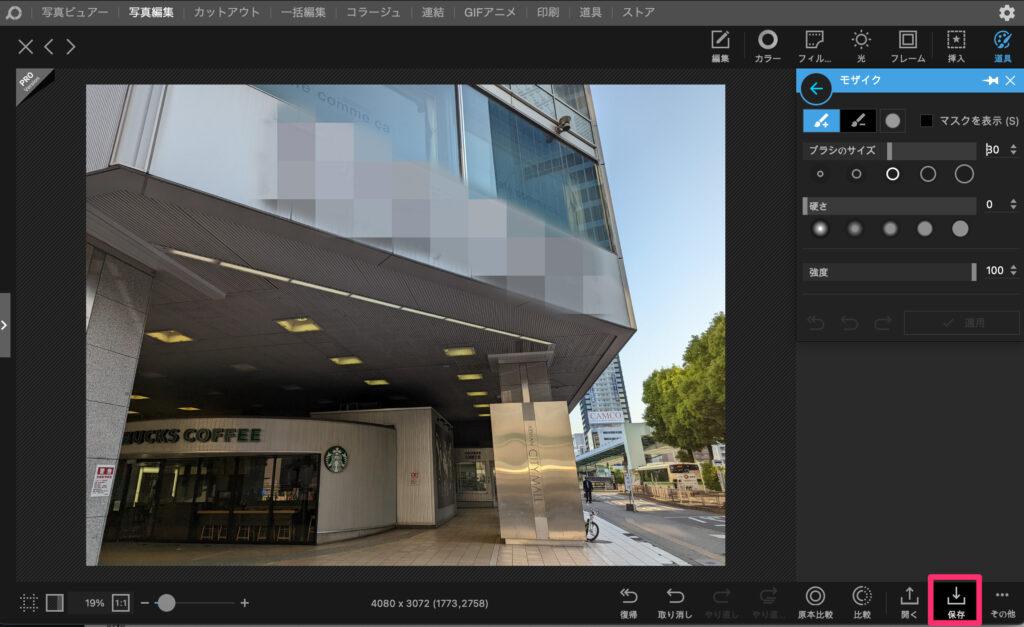
6.『保存』ボタンをクリックして、画像を保存する
モザイク機能のオプション
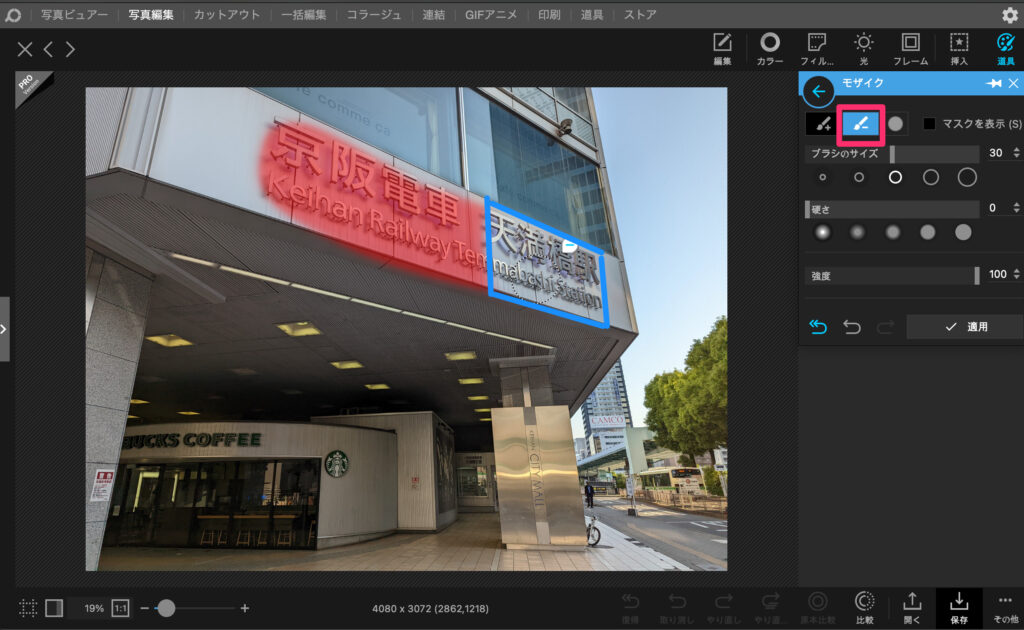
モザイクの修正
モザイク減算のアイコンをクリックして、修正したい箇所をドラッグします。
下の青枠のところは減算処理で、モザイクを消した箇所です。
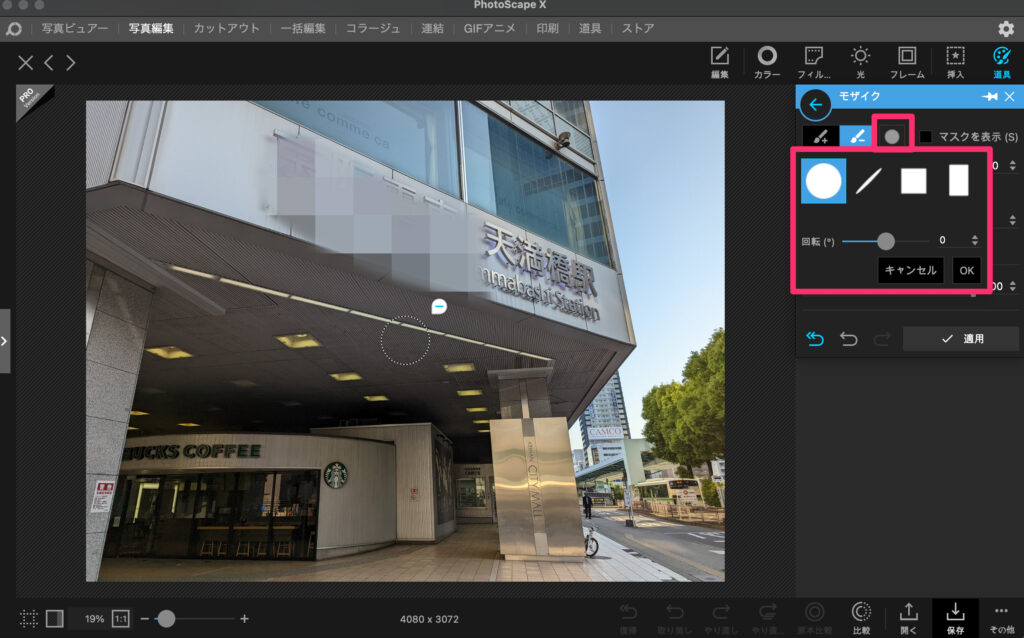
モザイク用ブラシの形
モザイクのブラシのアイコンをクリックすると、ブラシの形を変えるメニューが表示されます。
使いたいブラシの形のアイコンをクリックして、『OK』をクリックします。
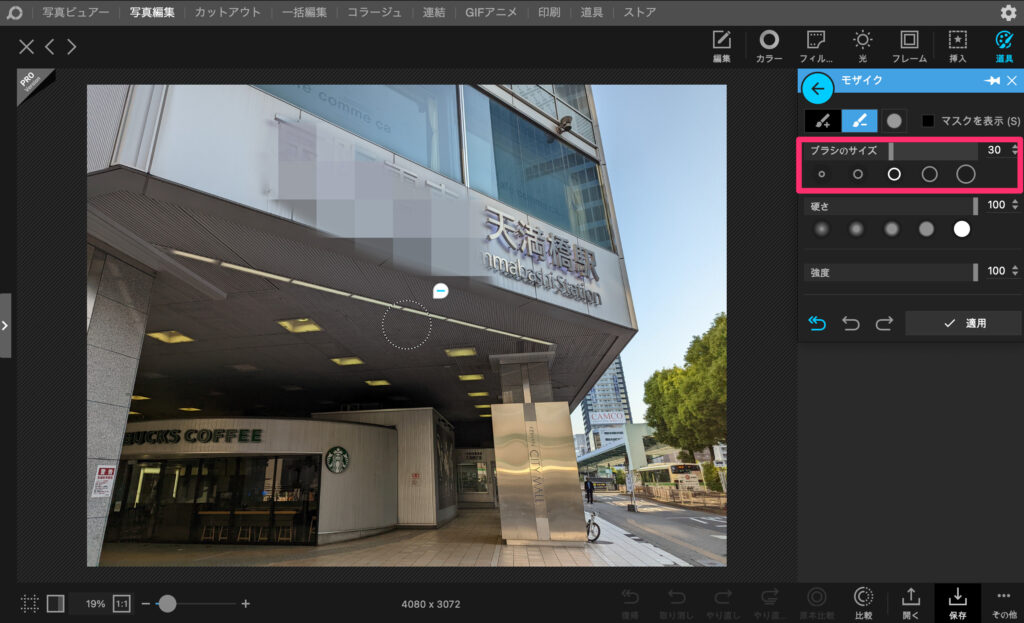
モザイク用ブラシのサイズ
ブラシのサイズを変更するには、数値を変更するか、サイズのアイコンをクリックして変更します。
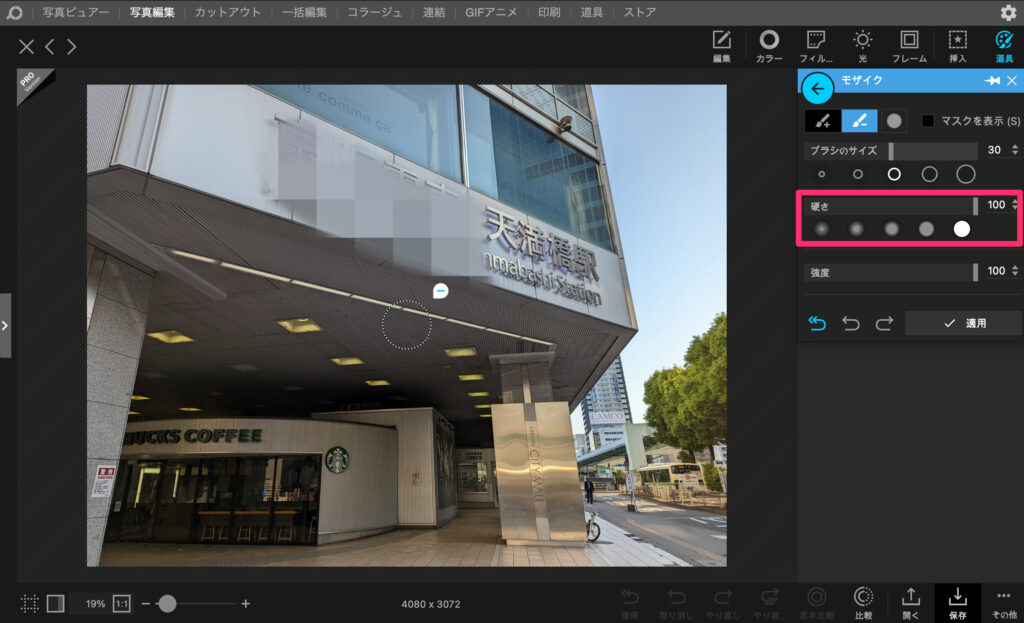
モザイク用ブラシの硬さ
ブラシの中心ほどモザイクのかかり具合が強くなるのですが、ブラシを硬くするほどブラシの端でもモザイクのかかり具合が強くなります。
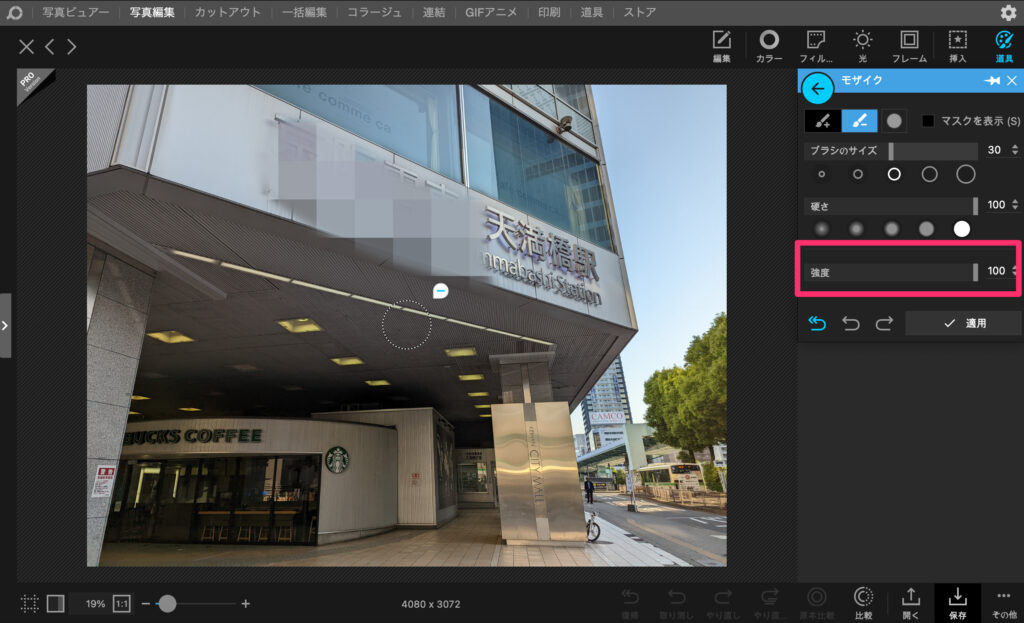
モザイクの強度
強度が大きいほど、モザイクの目が大きくなります。
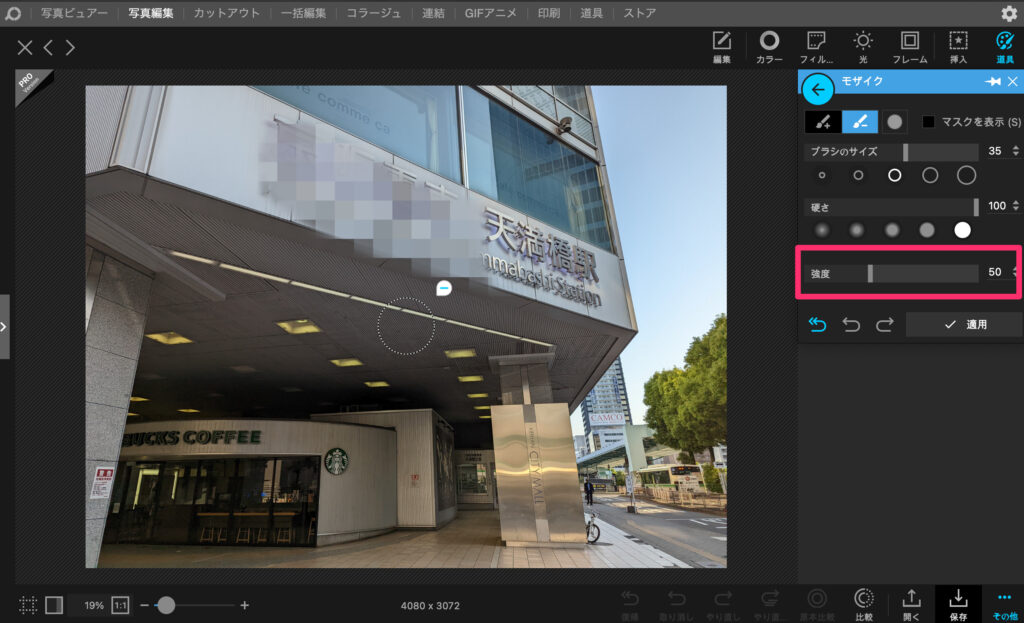
モザイクの強度を50にした場合は、下の画像のようになります。
モザイクの目が小さくなっていることがわかります。

コメント